Glitch imaging, also known as glitch art, is a digital imaging manipulation format that embraces errors and imperfections in digital or analog media to create unique and visually striking effects. It’s about taking the “mistakes” that occur in technology and turning them into intentional aesthetic choices.
What are “glitches”?
In the context of technology, a glitch is a malfunction or error that disrupts the intended function of a device or system. These errors can manifest in various ways, such as:
- Visual distortions: Pixelation, color shifts, image tearing, artifacts, and unexpected patterns.
- Audio distortions: Static, noise, skipping, and looping.
How is glitch imaging created?
Glitch imaging can be achieved through various methods, both intentional and unintentional:
- Databending: This term is frequently used when manipulating the data of an image file to create distortions. This can involve: Opening an image file in a text editor and altering the code, using audio editing software to process image data as if it were sound, changing file headers or other metadata.
- Hardware manipulation: Physically interfering with electronic devices, such as short-circuiting circuits or using faulty cables.
- Software errors: Exploiting bugs or glitches in software programs.
- Analog techniques: Using analog equipment like VHS players or CRT televisions to create distortions.
- Glitching: This is a broader term that encompasses various techniques for creating visual errors, including data bending, but also other methods like: using specialized glitch art software or online tools, exploiting software bugs or filters, using analog equipment to distort images.
Characteristics of Glitch Art
- Unexpected and unpredictable: Glitches often produce unpredictable results, which is part of their appeal.
- Abstract and distorted: Glitch art can create abstract and distorted images that challenge traditional notions of representation.
- Aesthetic value: Glitches are not simply seen as errors but as a source of aesthetic beauty.
- Commentary on technology: Glitch art can be seen as a commentary on the nature of technology, its limitations, and its impact on our perception of reality.
Examples of Glitch Effects
- Pixelation: Large, visible pixels due to low resolution or image compression.
- Color distortion: Unexpected color shifts or color banding.
- Image tearing: Horizontal or vertical lines that disrupt the image.
- Artifacts: Unwanted visual elements caused by compression or data loss.
- Scan lines: Horizontal lines that appear on CRT screens.
Tools and Software
Many tools and software can be used to create glitch art:
- Image editing software: Programs like Photoshop or GIMP can be used with plugins or manual techniques to create glitch effects.
- Dedicated glitch software: There are specialized programs designed specifically for creating glitch art.
- Online glitch generators: Several websites and online tools offer simple ways to create glitch effects.
- Music videos: Many music videos use glitch effects to create a visually striking and contemporary aesthetic.
- Film and television: Glitches are sometimes used to create a sense of unease or to depict technological malfunctions.
- Video games: Glitches can sometimes occur unintentionally in video games, but they can also be used intentionally for artistic effect or as part of gameplay.
TOOLS

https://glitchartgenerator.com
How to Glitch images in Photoshop
https://www.adobe.com/creativecloud/photography/discover/glitch-effect.html
https://docpop.org/category/photo/glitch
AUDACITY https://www.audacityteam.org/download/
Audacity can be used to manipulate images: It’s a popular technique within the realm of glitch art and databending. Here’s how it works and why it creates interesting effects:
How it Works
- Image as Data: At its core, a digital image is just a file containing data that represents the color of each pixel. This data can be interpreted in different ways by different programs.
- Audacity’s Role: Audacity is designed to manipulate audio data, but if you import an image file as “raw data,” Audacity will treat the image data as if it were sound.
- Applying Audio Effects: This is where the magic happens. You can then apply Audacity’s various audio effects (like echo, reverb, phaser, etc.) to the image data. These effects alter the underlying data, which, when interpreted back as an image, creates visual distortions.
Why it Creates Glitches
- Data Misinterpretation: Audacity’s audio effects are designed to manipulate sound waves. When applied to image data, they cause unexpected changes that don’t correspond to typical image manipulations. This leads to the glitchy and distorted effects.
- Data Corruption: Some effects might introduce data corruption or change the structure of the data in ways that the image viewer can’t properly interpret, resulting in visual artifacts.
Steps to Glitch Images with Audacity
- Convert to BMP: It’s often recommended to convert your image to a Bitmap (.bmp) format first, as this is an uncompressed format that makes the data manipulation more direct.
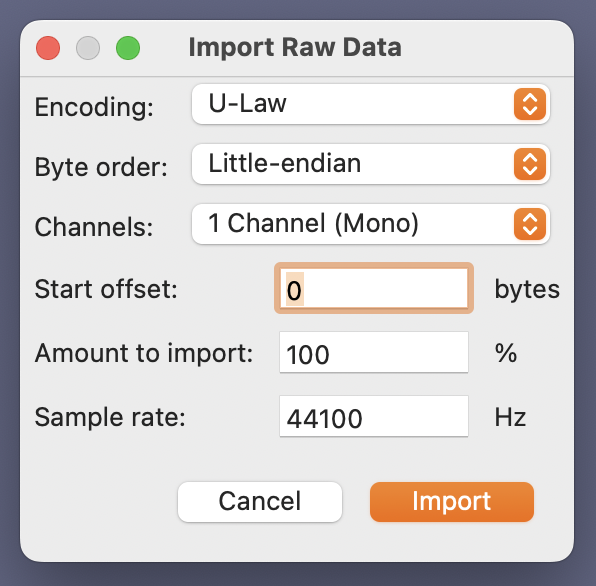
- Import as Raw Data: In Audacity, go to “File” > “Import” > “Raw Data.”
- Set Import Settings: You’ll need to configure the import settings correctly. Common settings include:
- Encoding: “A-Law” or “U-Law”
- Byte order: “Little-endian”
- Channels: “1 Channel (Mono)”
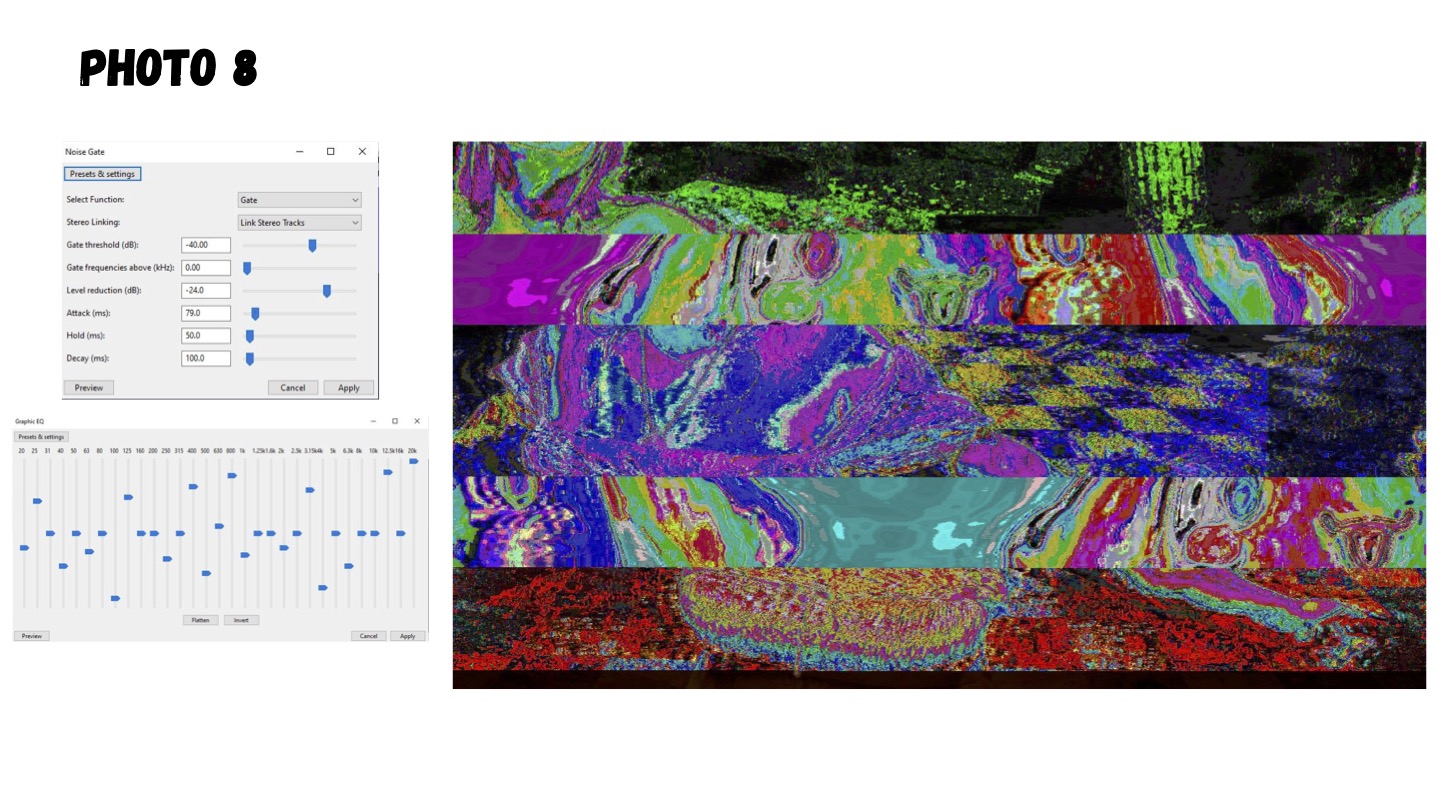
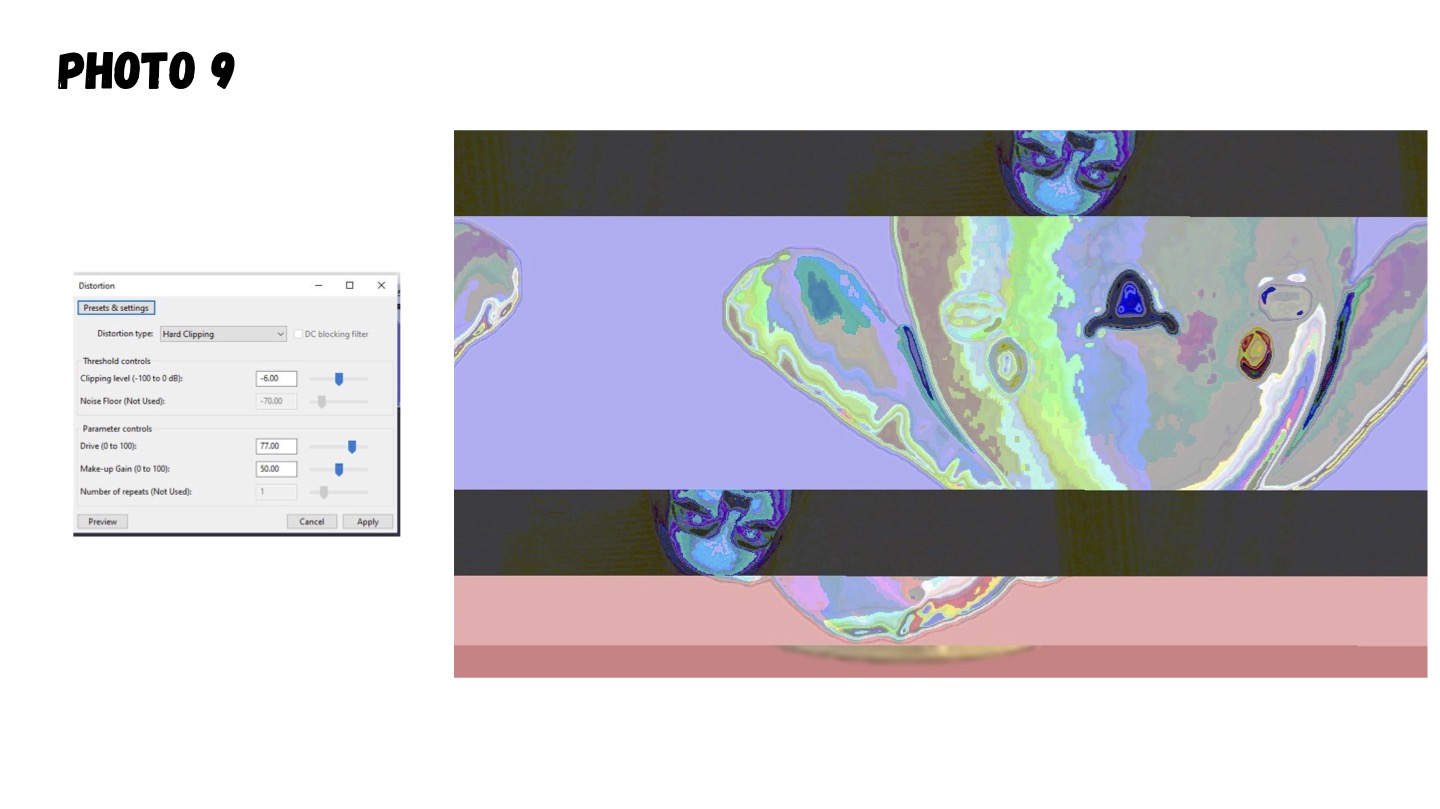
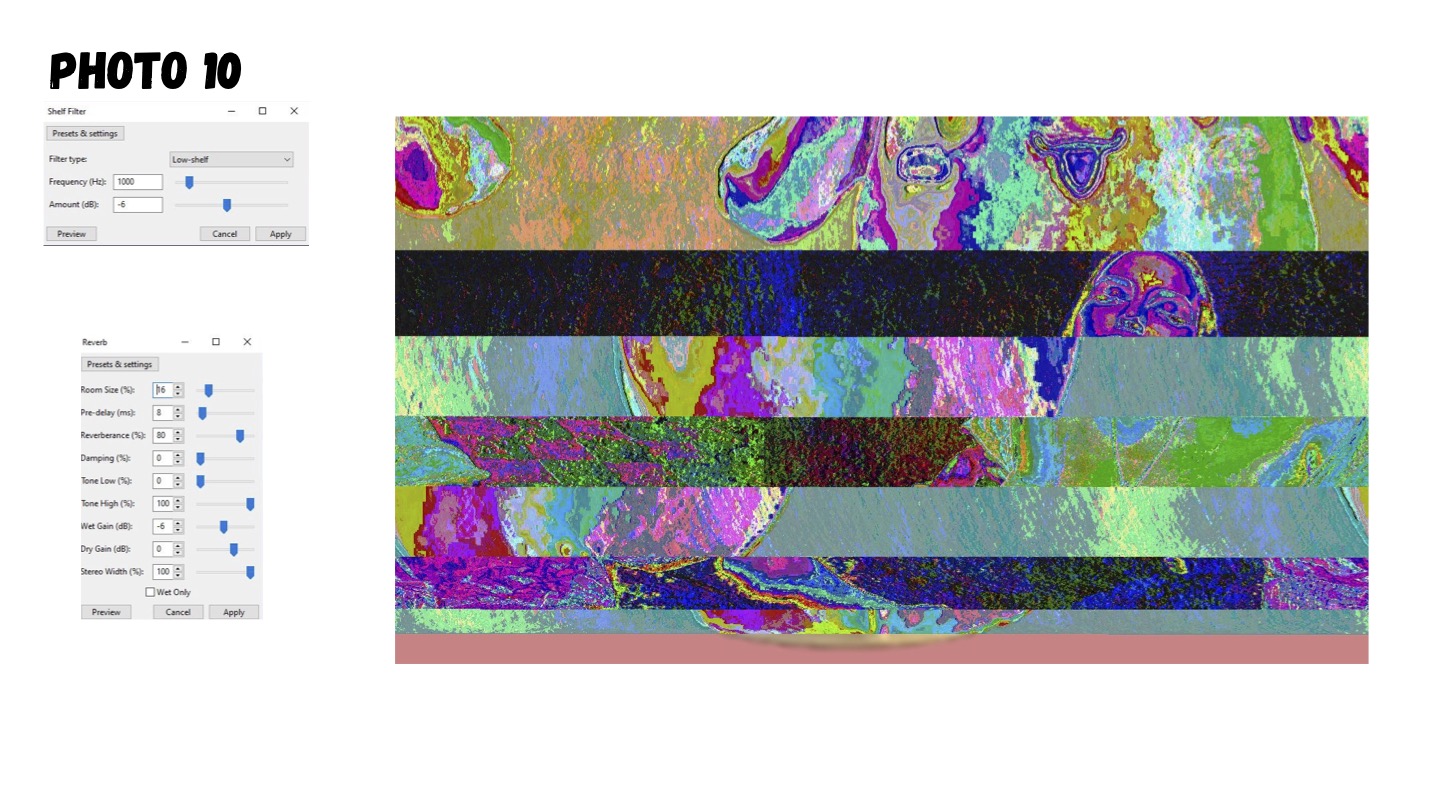
- Apply Effects: Now you can apply Audacity’s audio effects to the imported data. Experiment with different effects and settings to see the results.
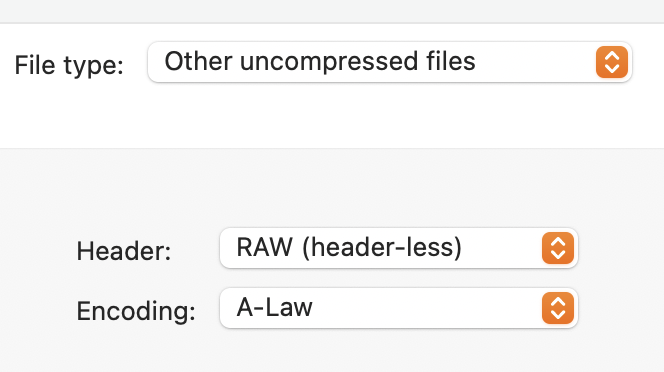
- Export as Raw Data: To save the glitched image, go to “File” > “Export” > “Export Audio.” Choose “Other uncompressed files” and set the header to “RAW (header-less)” and the same encoding you used for import. Save the file with a “.bmp” extension.

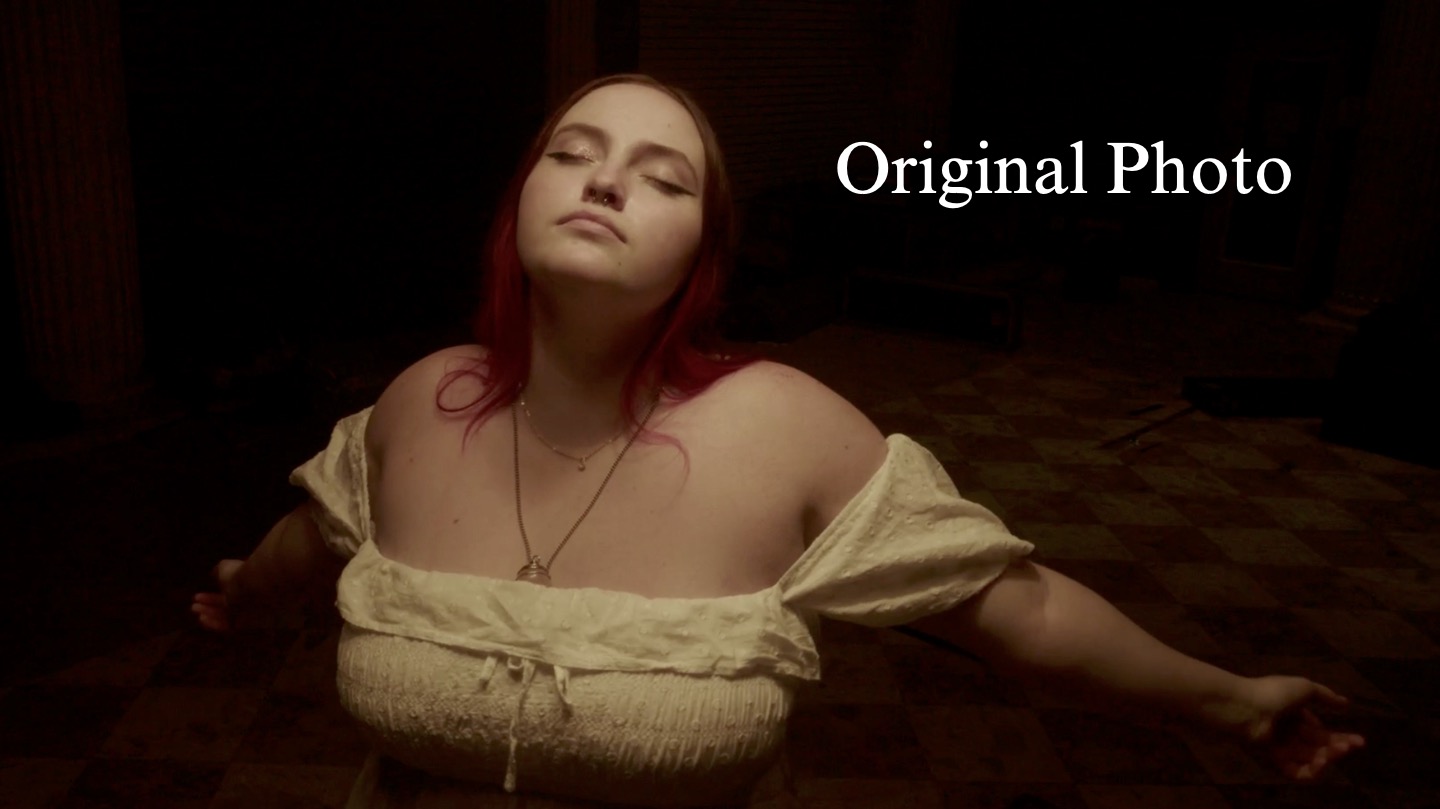
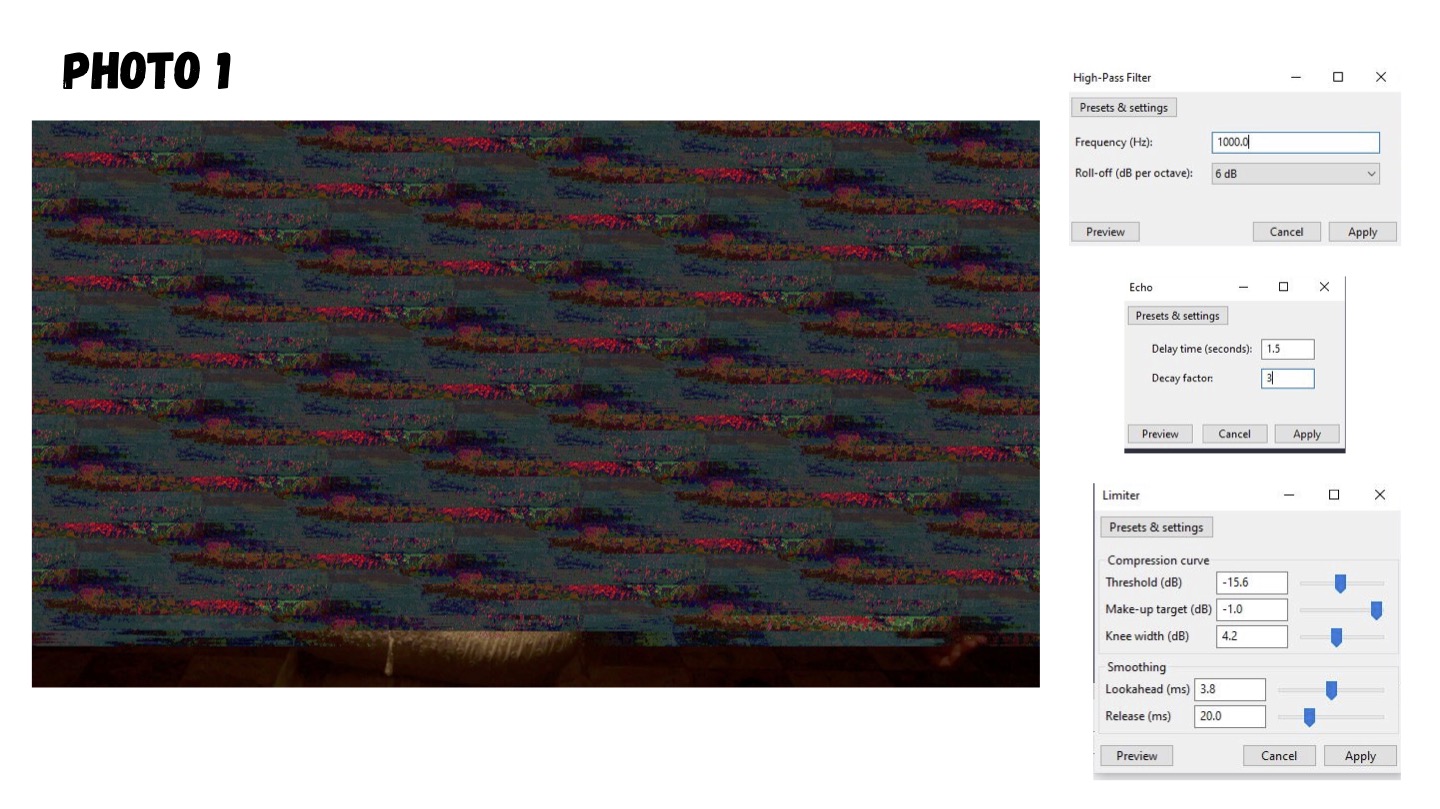
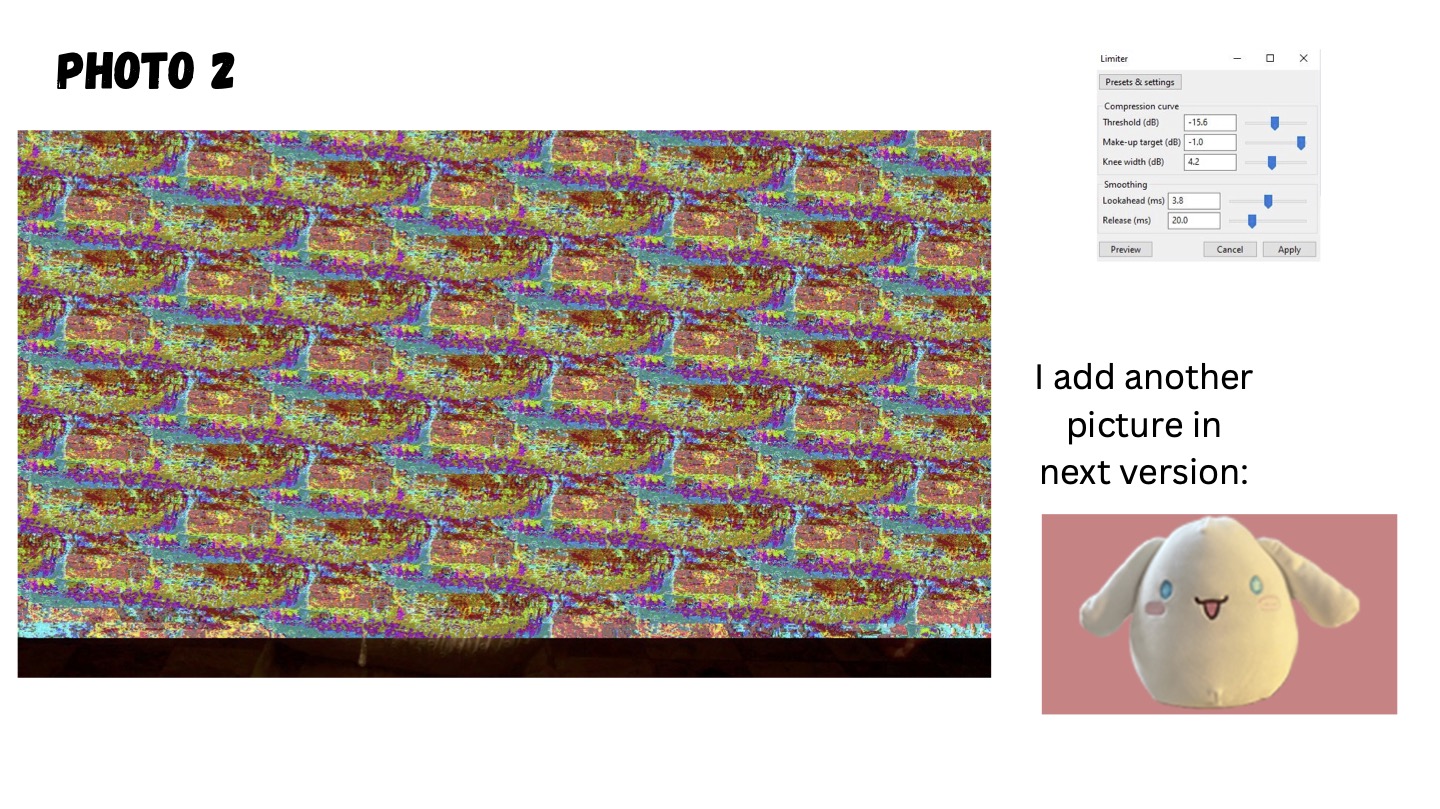
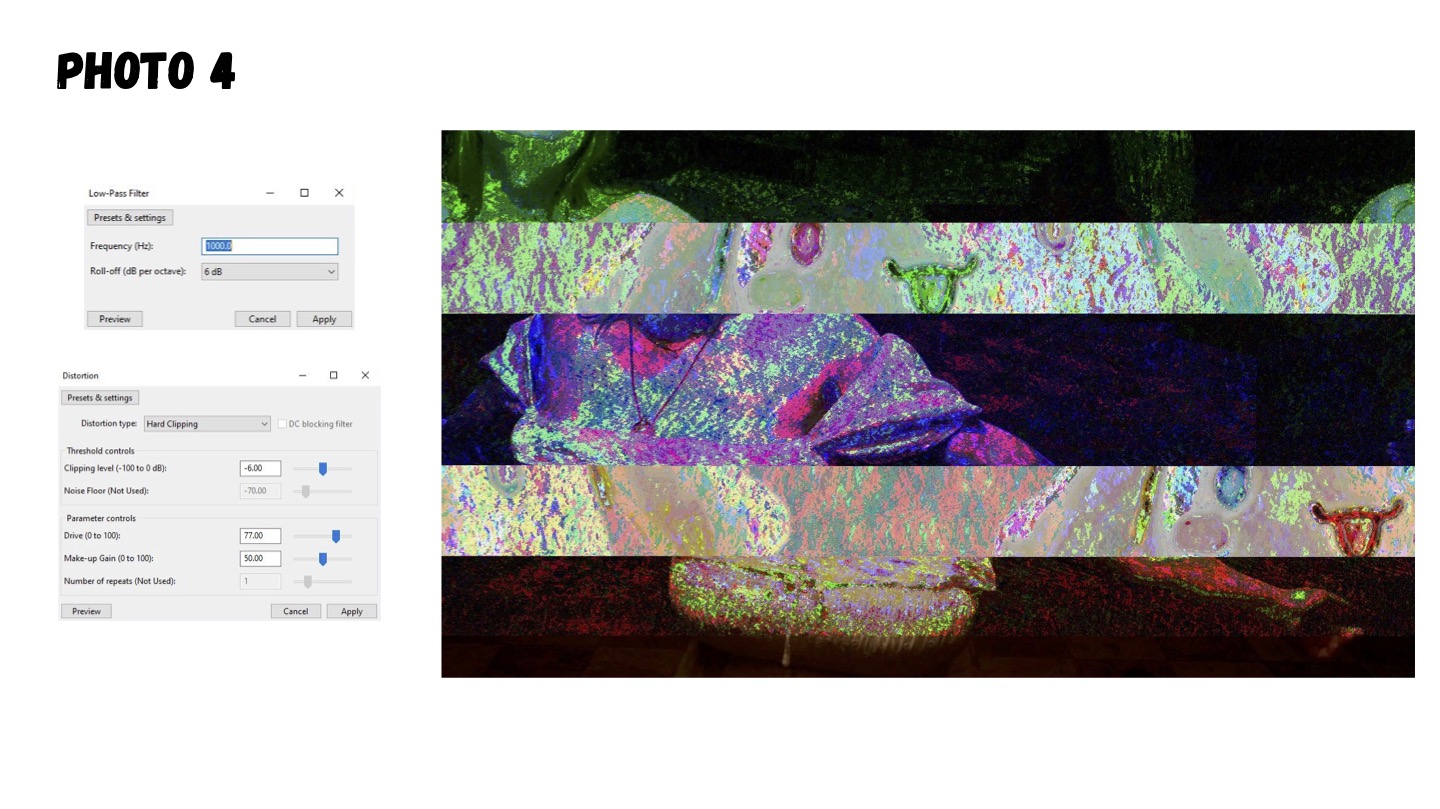
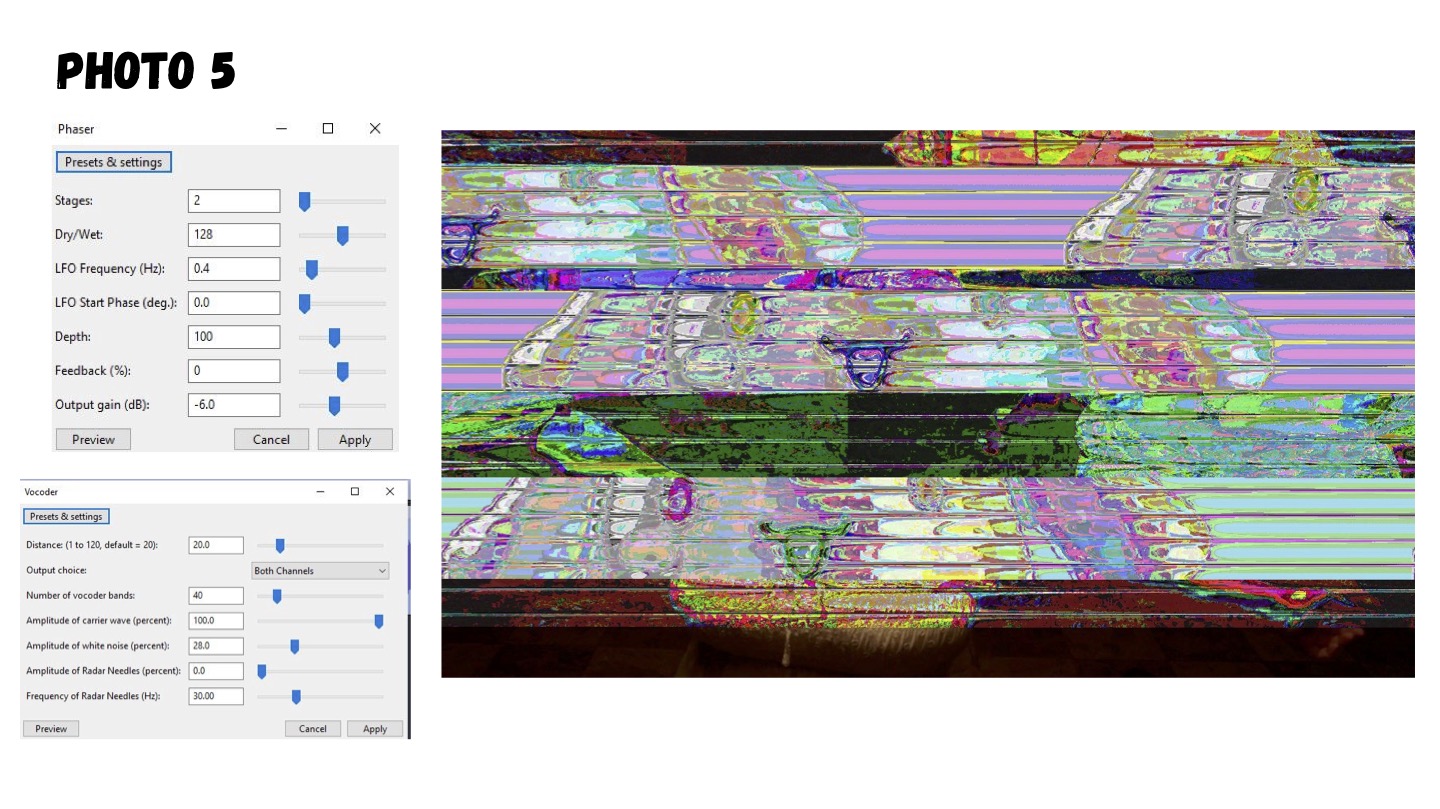
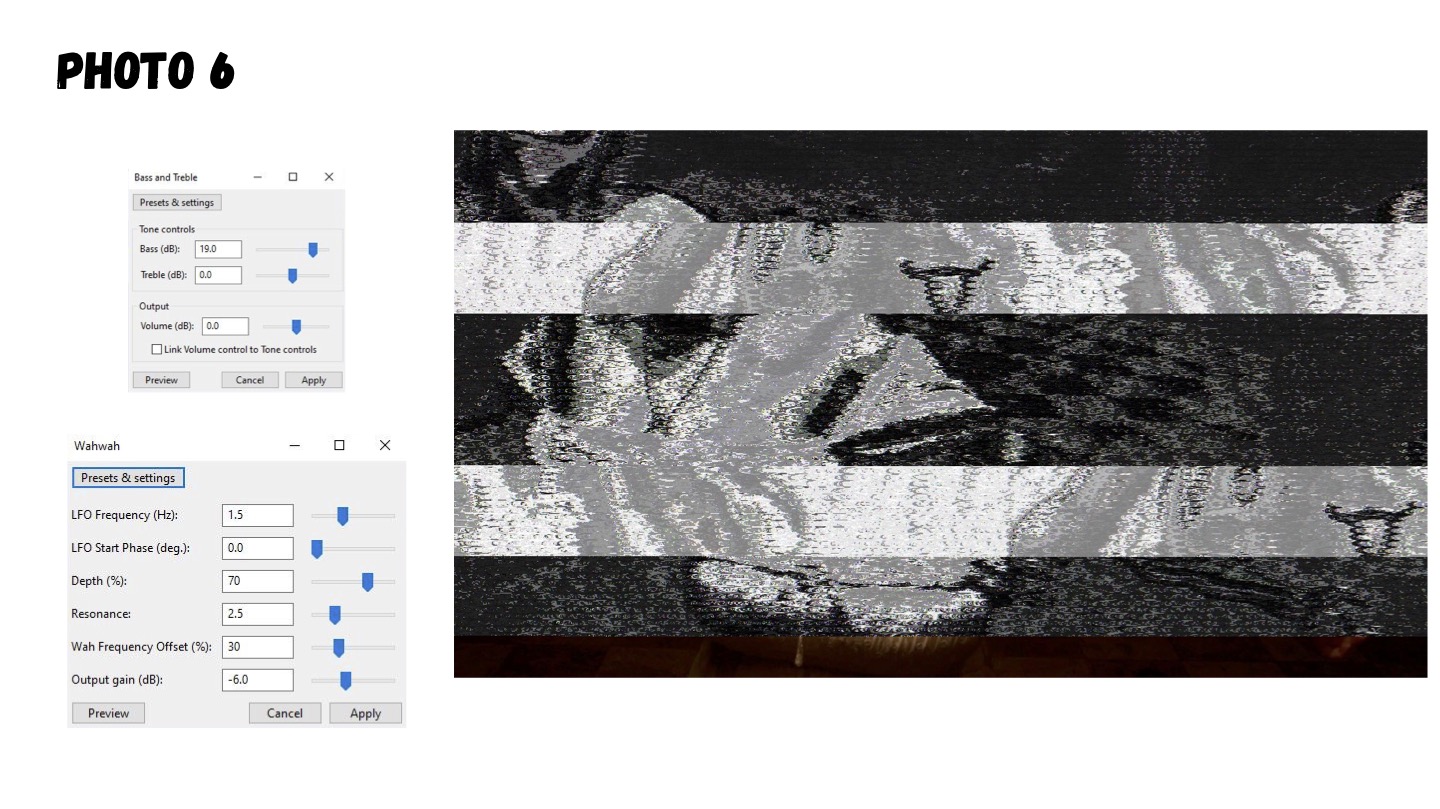
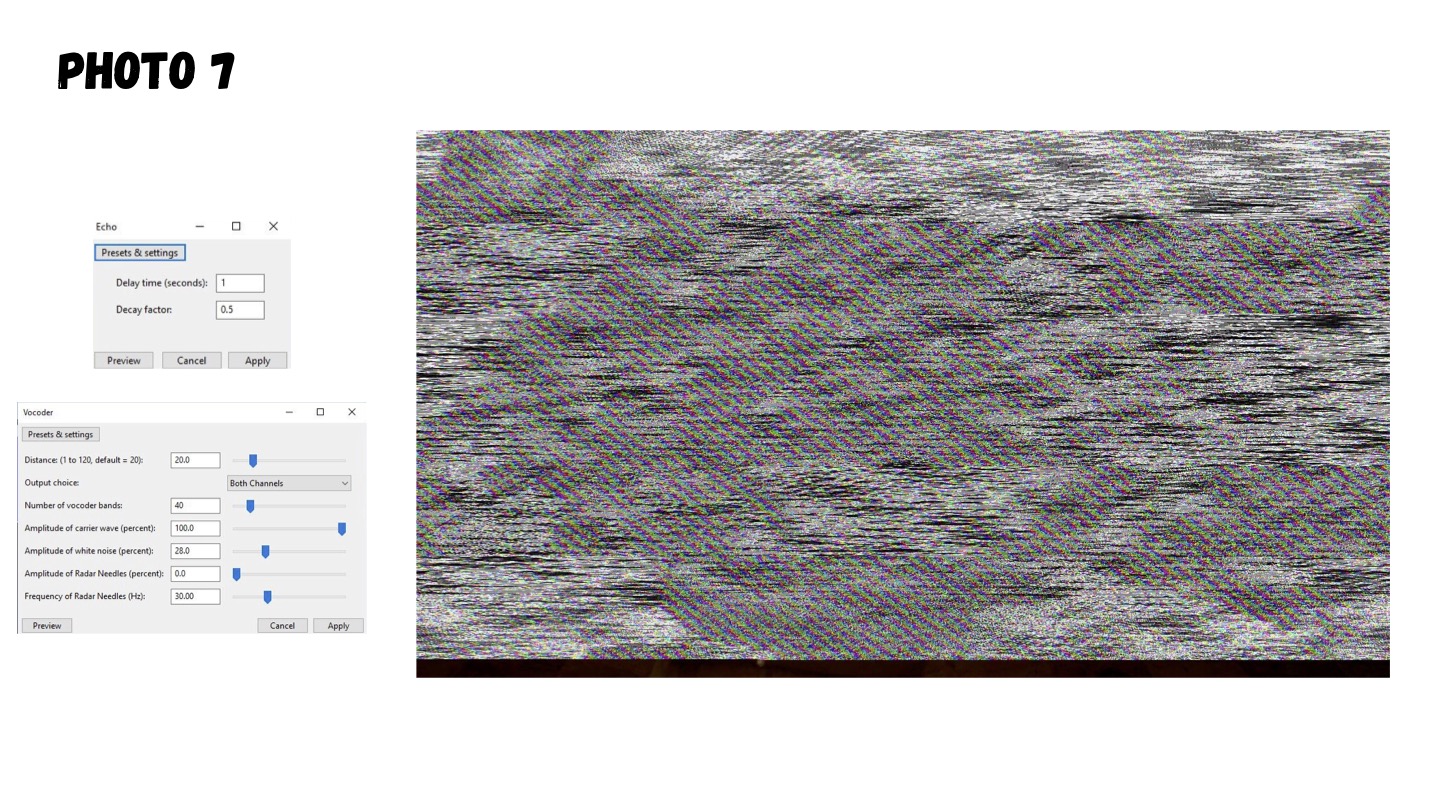
Examples of Effects and Their Results
- Echo: Can create ghosting or repeating patterns in the image.
- Phaser: Can cause color shifts and distortions.
- Reverb: Can create a blurry or washed-out effect.

Important Notes
- Experimentation is Key: The results of this technique are often unpredictable, so experimentation is crucial.
- File Size: Converting to BMP can significantly increase file size.
- Not All Effects Work Well: Some effects might not produce visually interesting results, or they might corrupt the image data beyond recognition.
ASSIGNMENT
05 • GLITCH Art
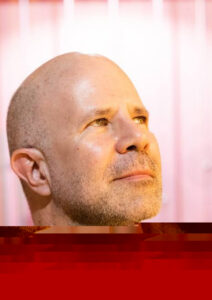
Take a selfie, clean it up in PS, and using at least 3 different glitching methods/tools generate at least 9 distinct and radical variations of the original image. I want to see chaos, errors, unpredictability. Take notes of your creative process and be ready to present the results in class. I suggest you create a slideshow explaining your creative process. Be mindful of the size: 1200px max the largest side of the images.
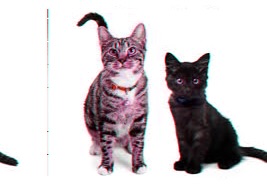
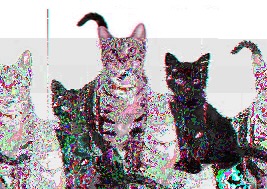
EXAMPLES